Scented Candle-Making Kit Guide 2021
This is a guide for the 2021 Scented Candle-Making Kit with either Cucumber melon or Green Tea phthalate-free fragrance oils.
NOTE: Use up all the ingredients in the kit ALL AT ONCE.
MATERIALS:

3 x Glue dots
3 x Candle wick holders
3 x Soy Candle wicks (Thick)
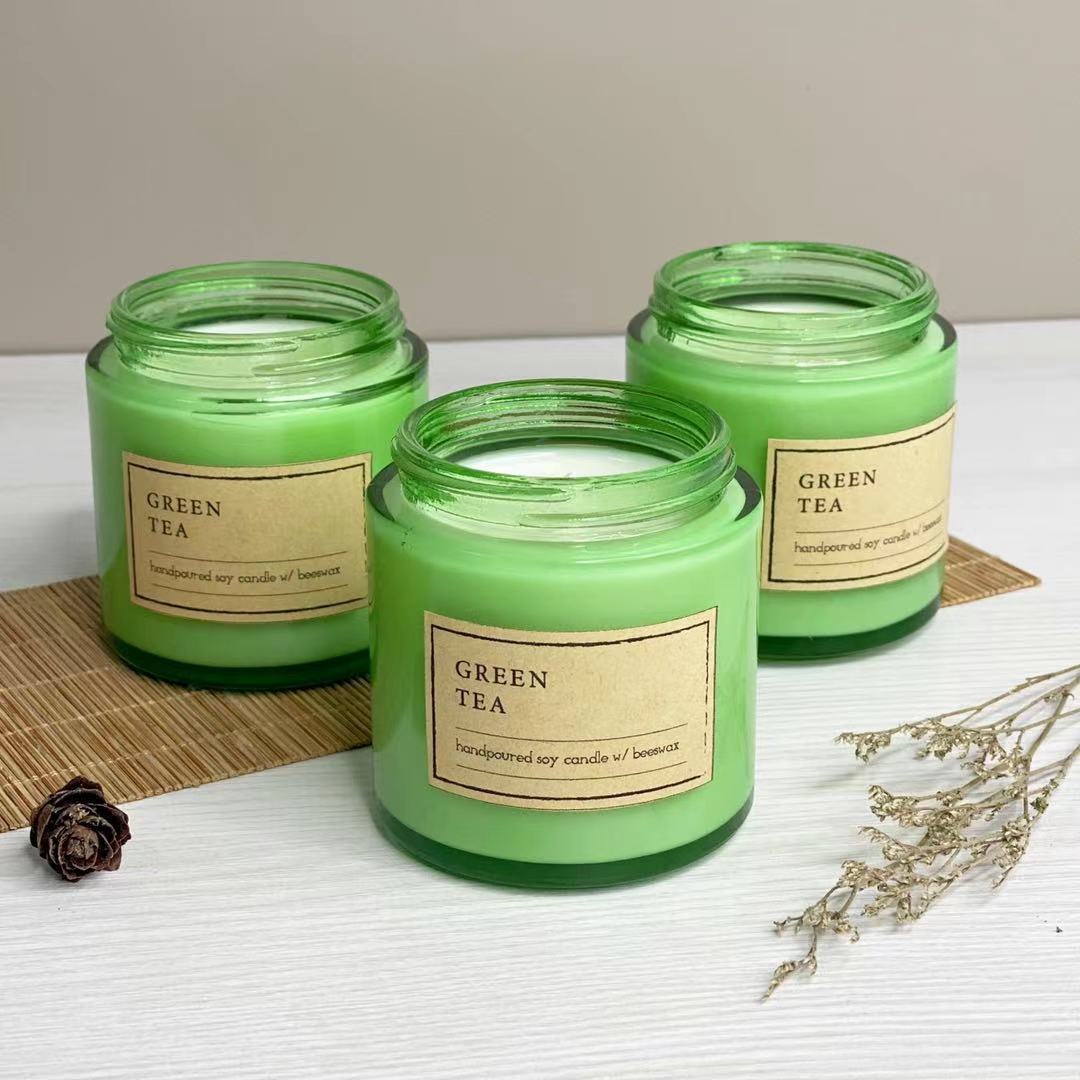
3 x 120ml Glass Jar
1 x 1.2L Melting pot
1 x Stirring utensil
1 x Thermometer (infrared or candy thermometer)
1 x 300g Beesoy blend (240g Soy wax, 60g Beeswax) - use all at once
18g Fragrance oil (Cucumber melon or Green tea)
FORMULA:
80% Pure Soy Wax
20% Beeswax
6% Fragrance Oil (Cucumber melon or Green tea)
1% Candle Dye (Optional)
PREPARATION:
Be sure to cover your work area with newspaper or a silicone mat for easy clean up!
Wipe your jars using tissue with alcohol.

With this kit we will be making three 120ml candles using a glass jar and the thick soy wick.
PROCEDURE:
Step 1: All of the ingredients in this kit must be used all at once as the waxes are mixed in the pouch but not blended. Place your wax in your melting pot. You use a double boiler (you place the pot in boiling water to control the temperature better) or you can directly place it on the burner.

IMPORTANT: Do not heat wax over 93°C (200°F). This will result in a bad smelling wax and discoloration.

Step 2: Secure the wick at the center of the container using a glue dot and wick holder.
IMPORTANT: Be sure to place the wick in the center, as this can effect how your candle burns later. Secure the wick with a wick holder. Make sure the wick is as straight as possible.

Step 3: SKIP THIS STEP if you're not using dyes. Once the waxes have fully melted, add your colorant and mix well to incorporate. You can mix your dye in at approximately 82°C (180°F) or higher (temperature may vary depending on the dye you are using).
Step 4: Mix in fragrance oil at the standard temperature of 185°F.


IMPORTANT: Stir gently but thoroughly to ensure that the oil binds with the wax. If it's not blended thoroughly, the wax and oil might separate. Stirring too quickly might introduce bubbles into your melted wax.

Step 5: While waiting for your wax to cool down, heat your container using a heat gun (recommended), place it in a warm water bath (be sure water doesn't splash inside your jars) or pre-heat in an oven (based on other candle-makers' experience - we haven't tried this yet). This will ensure that the wax won't cool rapidly. If it cools down too quickly, the wax might pull away from the glass container.

Step 6: At 135°F pour your melted wax into your container. It's best not to move the container once you've finished pouring to ensure a smooth and even surface. Secure the wick with a wick holder.
It's best to cool the candle down in a warm area - allowing it to solidify slowly.


Step 7: When it has fully solidified, trim the wick. Leave at least 1cm on the surface.
TIP: If your candles don't have a smooth surface, you can use a heat gun to melt the surface.

IMPORTANT: It is best to wait at least three days or up to two weeks before lighting your candle for better hot throw (stronger scent when lit).
Here are more tips based on our experience:
The candles we made using this kit achieved a full melt pool after burning for 2 1/2 - 3 hours.
Burn for 4 hours if lighting the candle for the first time.
Be sure to trim the wick after every use to ensure the flame isn't too big.
Be sure to always keep an eye on a lit candle - do not leave unattended.
HAPPY CANDLE-MAKING!

Leave a comment